2.1 Customer Profile, Customer View

In the upper row you will see several columns between which you can navigate with a click:
- Invoice entries (write invoices)
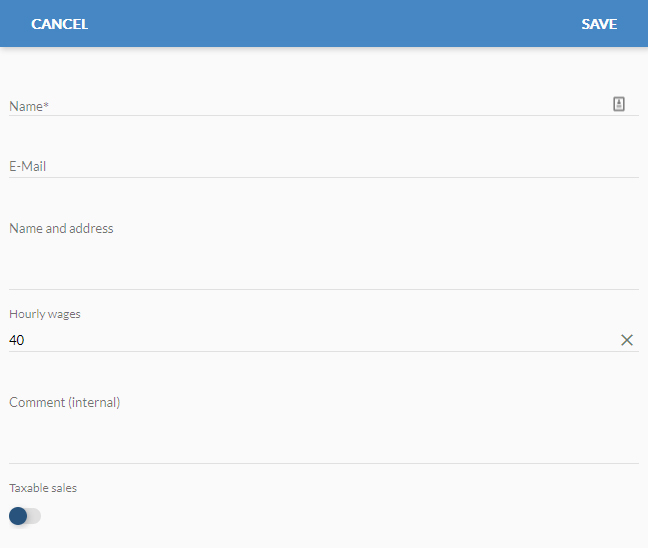
- Customer(stored information)
- Invoices(already created)
- Create offer
- Offers(already created)
- RecurringInvoices
- Statistics(customer balance)
- Texts(invoices, offers, e-mail)
Invoice entries
Here you can immediately create entries for a new invoice.
Create invoice entry
Click on the “+” symbol to create a new entry for your invoice.
The next dialog with input fields will then appear.
Add existing items
If you have already stored frequently used articles under All Articles, you can add them here.
The next dialog then appears with selection fields for the existing articles.
Click the tick to the left of the item to add it to your invoice.
Create (and send) invoice
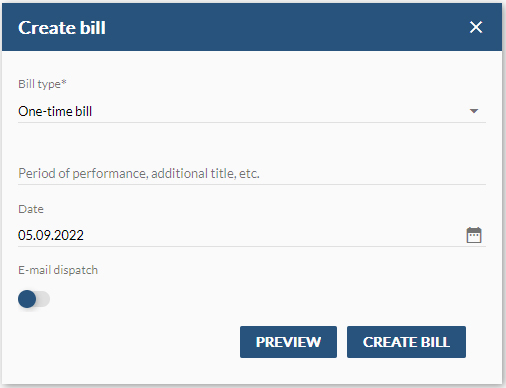
As soon as you have pressed the send symbol, another dialog for creating the invoice will appear.
Invoice type
From the drop-down menu, select: “One-time invoice” or “Recurring invoice”.
For recurring invoices, you can set the period in which the invoices should be generated. The “Start” and “End” date are available for this purpose.
Recurring Invoice
For recurring invoices, you can set the period in which the invoices should be generated. The “Start” and “End” date are available for this purpose.
Below you can set the frequency. For example, at a frequency of “1 week” a new invoice of the same type with the current invoice number is created every 7 days.

Service period, additional title, etc.
An additional text field that appears on your invoice above the table of invoice entries. For example, enter a title or additional information.
Date
Add the official date of the invoice. The field is automatically set to the current day.
E-mail dispatch
If you switch on this button, your invoice will be sent to the stored customer address as soon as you click on “Create invoice”.
Add more mail addressees in the “Cc”.
Preview
The “Preview” button opens a PDF file of your invoice in a new tab in the web browser. You can view the file before sending it, download it if necessary and print it.